The Audacity Compressor: Fix Your Podcast & Audio Volume Issues
Audacity is a free, open source programme you can use to record and edit your podcast. Recently, we took a look at its Noise Reduction Feature. In this article, we’re going to switch gears, and focus on the Audacity Compressor.
What is an Audio Compressor?
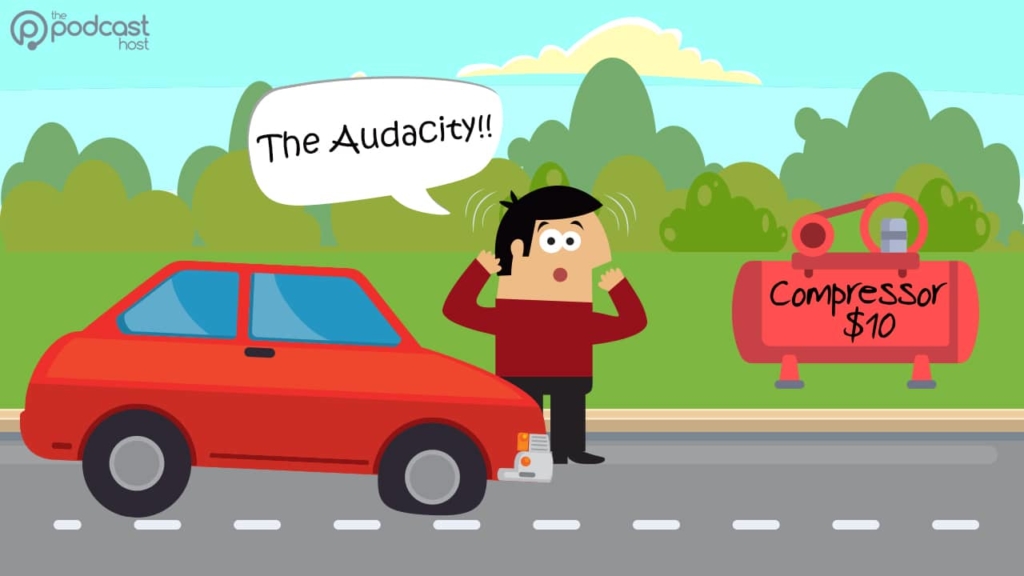
You might immediately conjure up images of yourself inflating your car or bike tyres. Audio Compressors are pretty useless when it comes to that sort of thing, though.
To understand why Audio Compressors are useful, you need to put yourself into the shoes (earbuds?) of a podcast listener. Have you ever been listening to something whilst driving, walking along a busy street, or sitting on a noisy bus? More than likely.
If you had to constantly adjust the volume of the show you were listening to, because some parts were too quiet and other parts too loud, then it’s likely this show would’ve benefited from some Compression.
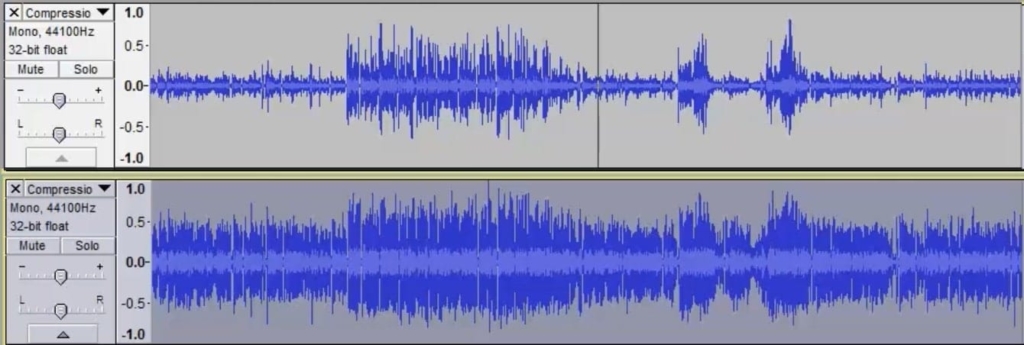
Compression, in its simplest form, is bringing the louder bits and the quieter bits closer together for a more consistent overall volume level.
If you’re itching for more info on this, then check out our full article on how audio compression works.
The Audacity Compressor
You’ll find a Compression feature in pretty much any audio editing programme. They all work along the same principles.
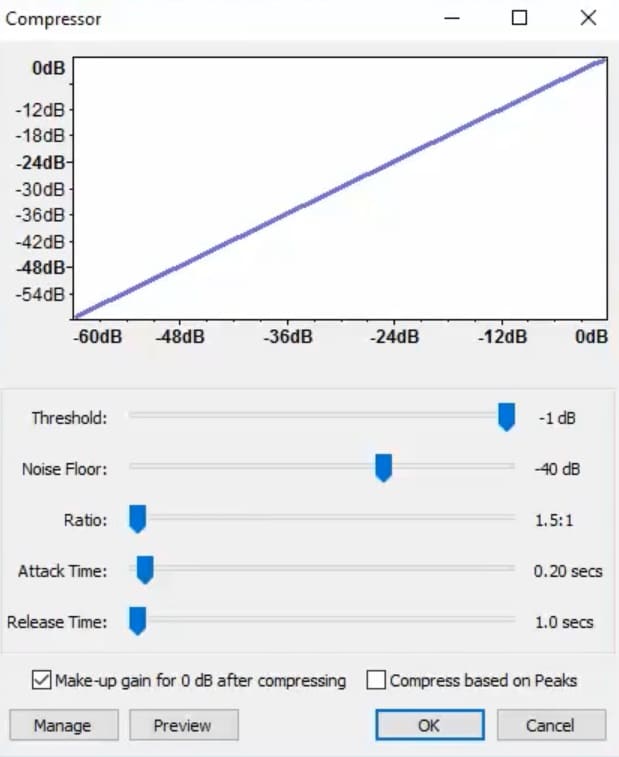
You can access the Audacity Compressor by going to Effect then Compressor.
Here are the different settings you’ll find.
Threshold
The Threshold determines how loud the audio has to get before the compressor starts working. This is to avoid things like movement sounds and breaths being pulled up and amplified.
If you set Threshold to the quietest spoken word parts of your waveform, anything louder than those quiet parts will be involved in the compression process. Anything quieter will be left alone.
Noisefloor
This setting further reinforces what the Threshold is doing. It can be used to make sure “silence” itself isn’t amplified during pauses in speech.
If you feel that this room noise is being boosted in-between words, you can increase the Noisefloor level to prevent it.
Ratio
Whilst the above settings help tell the Compressor what parts of the audio you’d like it to work with, the Ratio setting tells it how much compression you’d like it to apply. It’s basically the strength of the Compression.
There’s no ‘ideal’ setting here, because it completely depends on the audio you’re working with. Commonly though, 2:1 will be used to apply some light treatment to a track. Anything above 4:1 is considered fairly heavy, and would be used in more extreme cases where there’s vast differences in the levels of the source material.
Attack & Release Time
Spoken word audio is dynamic, and constantly changing. These settings are basically here to tell Audacity how quickly it should react to these changes.
Attack Time tells Audacity to start applying compression, whilst Release Time tells it to stop. These are going to work off of your Threshold and Noisefloor settings, which we covered above.
To be honest, it’s unlikely you’ll ever have to tinker with the AT and RT settings. Their default settings (Attack 0.20 secs, Release 1.0 Secs) will be absolutely fine for most of the audio you record.
Signs of Over-Compression
Like any other audio production, cleaning, or enhancement tool, it’s possible to over-do it.
Let the ultimate judge of whether you’re doing it “right” or “wrong” be your ears.
Does the audio sound abrasive and distorted? Then it’s likely you’ve gone a bit too far.
Does the audio still sound a little quiet in places? Chances are, you’ve room to bump the settings up a bit.
Your listener will only ever judge your audio on how it sounds. They’ll have no idea what settings you used in the Audacity Compressor. In fact, they’ve probably never heard of it. It’s only the end product that matters. There are many different ways to get there.
Audacity Compressor Alternatives
Some podcasters love to learn the ins and outs of audio production, and work on mastering this stuff.
Let’s be honest though, many don’t. In fact, a great deal of the podcasters we work with have no interest in audio production at all.
That’s totally understandable. They’d much rather focus on their content.

That’s why we ended up building our own ‘Podcast Maker’ app – Alitu.
It’ll automatically do all the compression and noise reduction for you, without you ever having to understand a thing about how it works, or what settings to use.
Learn More About Audacity
If you haven’t downloaded Audacity yet, you can find it here: Audacity Download.
And, if you are keen to learn everything there is to know about podcast editing, check out the Audacity Podcast Production video course. That’s just one of the many courses you’ll find in Podcraft Academy. On top of that we run an active community and regular live Q&A sessions too.
You’ll find everything you need in there to start and grow a great podcast.