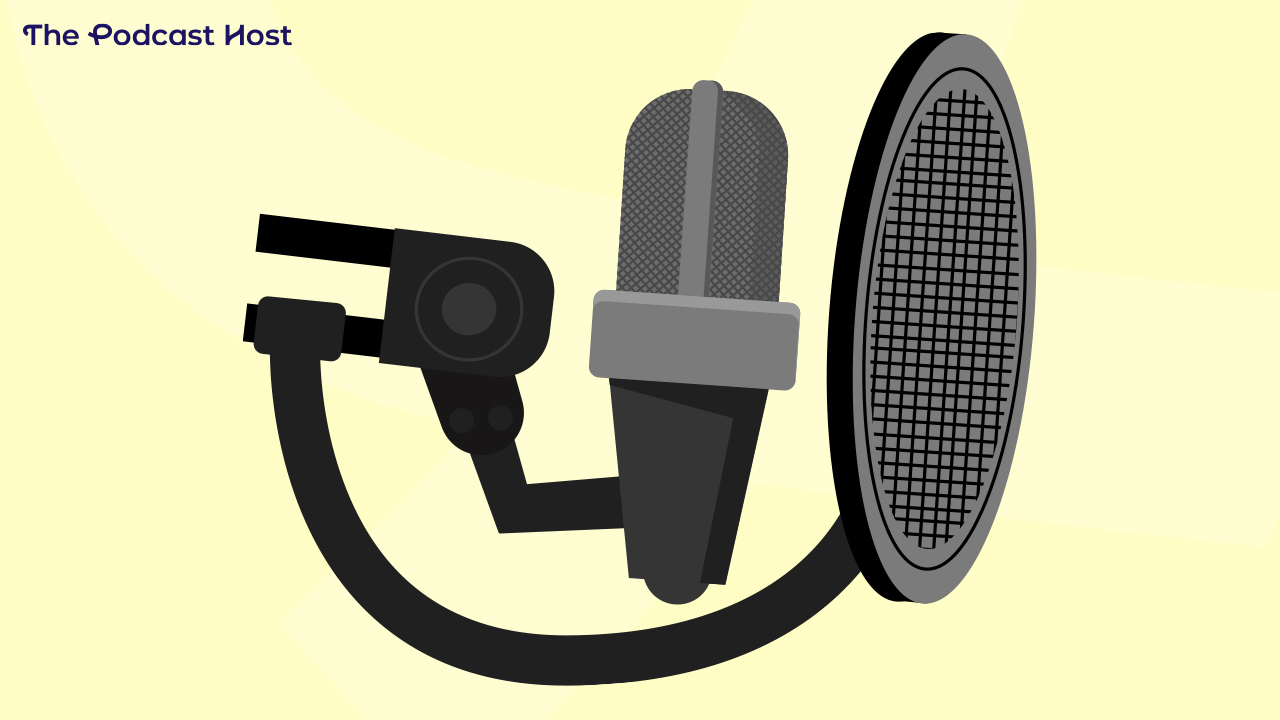
Mic Technique for Podcasters | How to Sound Your Best
Mic technique is a much overlooked part of podcasting. It’s easy to assume that if you just buy a good microphone or decent equipment, then your show will automatically sound great.
But it’s like anything else. Buying a fancy car won’t necessarily make you a great driver. And if you spend half a years wages on a top-of-the-range guitar, that doesn’t mean you’ll be playing it like Hendrix.
Fortunately for us, learning good mic technique isn’t half as complicated as learning to drive, or playing a musical instrument. A lot of it comes down to simple best practices.
And that’s precisely the aim of this guide to mic technique for podcasters. Here, we’ll run through some tips and tactics for getting the best possible sound for your content. So let’s get started.
1. Microphone Handling
Even the most rugged of dynamic microphones make noise when handled. Keeping your microphone on a stand instead of holding it ensures the boom and rumble of fumbling with your mic doesn’t ruin another take. But be careful! Desktop mic stand can transmit noise from typing, leaning on the desk or any interaction with the surface the stand is set on.
I lean toward floor stands (which aren’t immune to walking or foot-tapping). If you use a boom arm, I recommend attaching the boom to a surface other than your desk to reduce transmission through the desk. With that said, many of the higher-end boom arms out there (like the Rode PSA1) are built to protect against shock waves travelling up them to the mic itself.
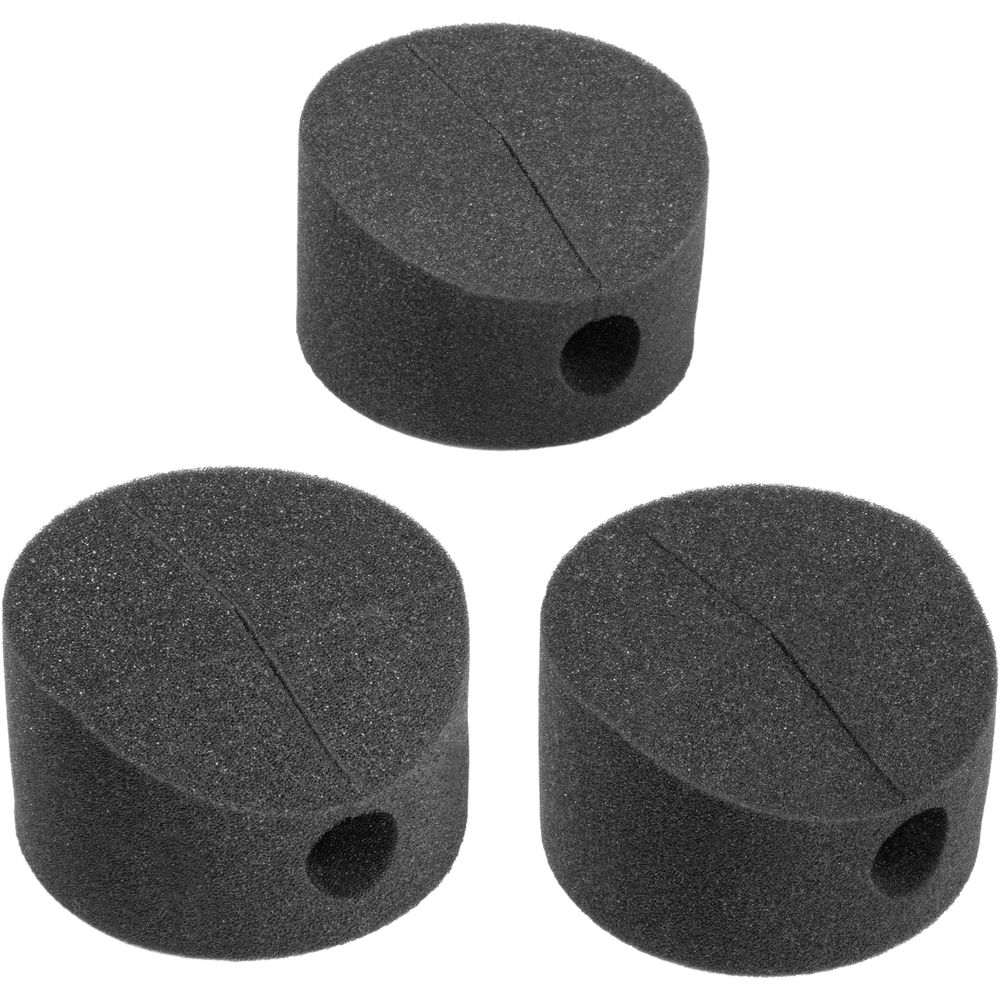
2. Decoupling
If you use a desktop stand (or even floor stands), I recommend decoupling (a fancy word for moving the mic away from the surface) using either a piece of acoustic foam or some inexpensive decoupling pads. Decoupling pads attach to the feet of your mic stand and absorb the shock to reduce transmissions from getting through.
3. Mouth Noises Be Gone!
Excessive mouth noises can be distracting. Especially when using condenser microphones, which sound beautiful, but are far more sensitive than their dynamic cousins. Avoid eating sugary or starchy foods, like bread or potato chips before going on mic. The starches thicken the saliva and make the mouth pastier, creating heavy mouth noises. To reduce mouth noises even if you haven’t eaten starches, a green apple, like a Granny Smith or a Crispin (Mmm. Crispin) helps reduce the starches and thickness of the saliva. A glass of water with a wedge of lemon also helps reduce mouth noises.
I’ve heard of some podcasters and VOs who advocate cleaning their teeth before a recording session too!

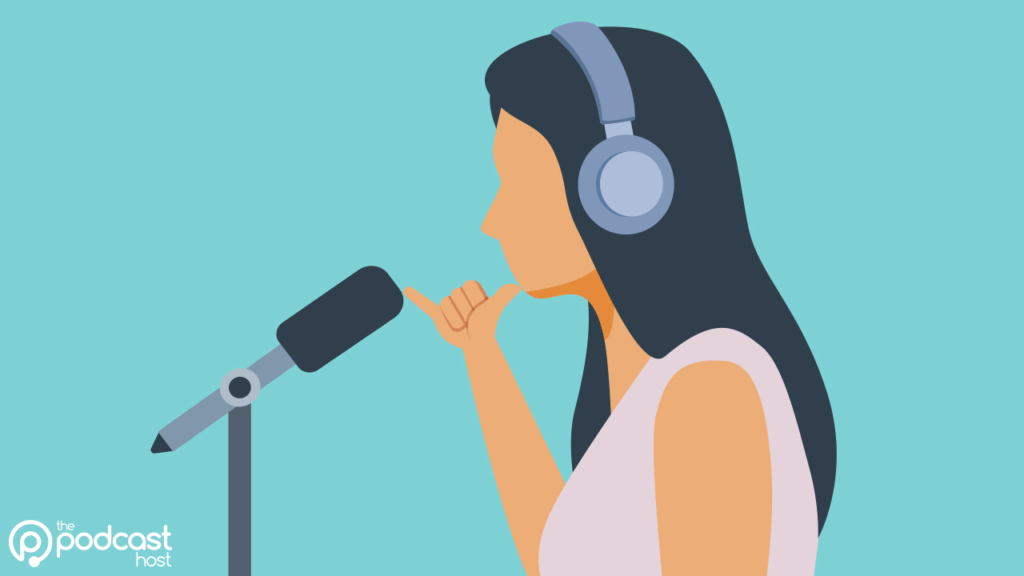
4. Mic Positioning: Hang Loose
A vital aspect of mic technique. Good mic positioning helps prevent excessive reverb from getting into the mic while also reducing the weighted bassy feel cause by the proximity effect. The proximity effect is the unnatural (albeit sometimes desired) bass response that happens when you lean closer to a microphone (or someone’s ear for that matter).
Good microphone position is roughly 6-8 inches from the mouth. I teach my podcasting students to hang loose when in front of the mic. That is, extend the thumb and forefinger into the sign for “hand loose” or “call me.” Then place the thumb to your chin and the tip of your pinky to the microphone. That is roughly the distance you need to be from the microphone when speaking.
5. Gain Staging
Before each recording session, gain staging your microphone is always a good practice. While it may not be necessary from session to session, gain controls can get bumped and it’s a good practice to check your settings before a session to avoid complications while recording. Simply arm a track with your microphone connected in your DAW and adjust the gain until the input levels hang around -6dB when speaking at a natural volume for you.
Note: A natural volume is your normal speaking volume. If you tend to speak loudly, do so when gain staging to get a good gain with room to speak louder before clipping.
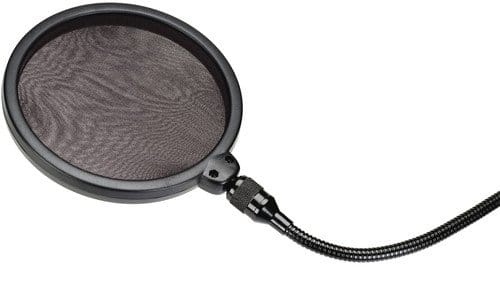
6. Pop Screens
There are a few ways to handle plosives. Those are the bassy pops when pronouncing B’s and P’s as air bursts from your mouth and into the mic. The first and best line of defense is to use a pop screen between the microphone and your mouth. Pop screens help by diffusing the air from the plosive before it can hit the microphone while leaving the sound from the voice relatively unaffected.
Mic Technique for Podcasters – Conclusions
With all of the wonderful plugins out there that make our editing lives easier, it is sometimes hard to remember that sound recording is a Garbage in/Garbage Out process.
What gets recorded, good or bad, is ultimately what we have to work with when we go to edit. The ultimate goal is to record the sound (in this case, your voice) as accurately as possible with as little noise, distraction, and reverb as possible.
The more we rely on plugins to alter the sound, the more potential there is to reduce frequencies and make the voice sound incoherent or unnatural, in extreme cases with drop-outs or an unnatural lack of room noise.
Remember to use proper mic technique, placement and other tips from above before resorting to a filter or plugin to alter the sound. Do this, and you can use your editing and production tools to take your audio from good to great, as opposed to bad to slightly better.
Need a Production Helping Hand?
Feeling a lot more confident about getting behind the mic and recording great source material? Still hesitant about the editing and production process? If so, then check out Alitu.
Alitu is our ‘podcast maker’ web app that let’s you do all your editing, processing, levelling out, and publishing, without having the slightest clue about how any of that stuff works.
It’s built for folks who just want to get their message out there – in the best sounding way – without feeling like they’re studying to become an audio engineer.
If that’s you, then have a look at Alitu, and if you like what you see, you can try it out free of charge!