How Do I Make a Podcast Sound Better? 6 Actionable Tips
Podcasting used to be pretty complicated. They were tricky to record, distribute, and even listen to. In those days, low-quality audio was shrugged off by the small number of folks in the medium. There was often an “it is what it is” approach. Nowadays, things are different, and podcast listeners are less forgiving. So if you’re concerned that your audio might affect your audience growth, here’s a handy guide on making a podcast sound better.
First up, there’s a big question that needs answering…

What Is ‘Good’ Audio?
Some might say this is subjective, but I’d argue that there are a number of factors that determine if audio is of professional broadcast quality.
- Each speaker is always ‘on mic’ and completely audible when talking.
- Each microphone picks up an accurate vocal recording that doesn’t sound tinny or muffled.
- Audio is free from distortion (crackling, clipping, interference, handling or wind noise)
- Audio has a low level of ‘noise floor’, so any underlying hiss or background noise isn’t intruding on the speech.
- Volume levels are consistent throughout, even with multiple speakers.
- Vocals are free from excessive echo or reverb (unless deliberate, in a field/location recording environment)
Source Material – Enhance or Repair?
You’ve probably heard the term “you can’t make a silk purse out of a sow’s ear” before. This certainly applies to your audio.
If you record clean source material then you already have good sound quality, but you can use a few tricks in post-production to enhance that quality.
If you record source material with certain issues, then your post-production task is more a case of making it sound presentable than excellent.
Keep that in mind when you’re setting up to record. Listen back to your initial test recordings and ask yourself if this will be a repair job. If so, you need to look at sorting out any issues at the source.
What Determines My Recording Sound Quality?
We can narrow this down to three things.
Your Microphone & Equipment
From your microphone and interface to your laptop and cables. Everything that makes up your recording setup will affect your sound quality.
Your environment & Recording Space
Not just the room around you but the building around that room and the street around that building. Even the sky overhead. How much noise filters through into your recording studio?
YOU (& Your Pop Filter!)
Mic technique is often overshadowed by the other two, but it’s still crucial. Some simple changes to how you record can make a big difference. For example, use a stand or boom arm rather than hold your mic. Keep an appropriate distance between your mouth and the mic head, too – the distance between your pinkie’s tip and your thumb’s tip is a good starting point. And always use a pop shield!
Managing Your Recording Session
If you’re running a solo show then you only need to worry about your own environment, equipment, and technique when you want to make a podcast sound better. In terms of recording equipment, we have a full equipment guide on a lot of the gear we’ve used over the years. You might also want to check out our article on creating a good recording environment.
If you’re working with co-hosts and interviewees on location then you still have a lot of control. Choose your environments wisely, prep your guests, and don’t be afraid to halt a recording if you need to correct something. Editing out a short pause is a lot better than trying to fix poorly recorded audio in post-production.
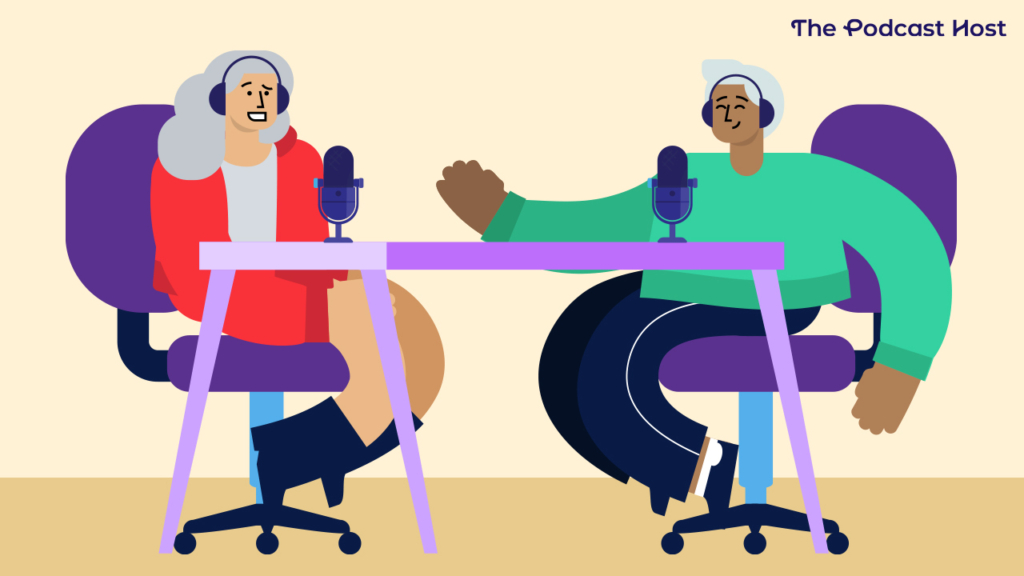
Online Calls & Remote Interviews
One of the biggest challenges in making a podcast sound better is recording remotely online.
Fortunately, this has improved a lot in recent years, with the emergence of double-ender recording tools like Riverside.fm and SquadCast. These tools have helped eliminate the dreaded internet lag typically found in recordings on platforms like Skype.
But the recording platforms themselves are only half the battle. If your guest turns up at their end sitting in a cave, recording into a potato, then no software is going to make that sound good.
You can avoid stress by prepping your interviewee ahead of time. Ask them about their equipment and environment in advance of the call. Then, if necessary, you can sort out any mic technique issues before you start the recording. For complete ease, send them our “how to be a great podcast interviewee” guide when arranging it with them.
Should I Try a ‘Double Ender’?
Sounds a bit dodgy, but some podcasters swear by this method. It can go a long way towards making a podcast sound better.
A Double Ender is where each person on a call records their own audio independently of the software they’re using.
You can record your own audio straight into your DAW (your editing software, DAW stands for Digital Audio Workstation), but it’s best to avoid putting too much strain on your computer, which might affect the call itself.
A much better option, if each caller has the luxury of doing so, is to record their own audio into a digital recorder.
This means the audio is totally unaffected by bad connections and computer issues. Once the call is over, each person sends their audio to whoever is mixing the episode, and they’ll sync it all together.
When doing a Double Ender, especially with more than one caller, be sure to do three loud claps before you start the show. That way, it’ll be much easier to sync up in post-production.
Double Ender recording (manually) is only recommended if everyone involved is semi-experienced with recording audio. If someone messes up or forgets to hit record, the whole episode is ruined. The good news is that tools like Riverside.fm and SquadCast can now record this way for you automatically.
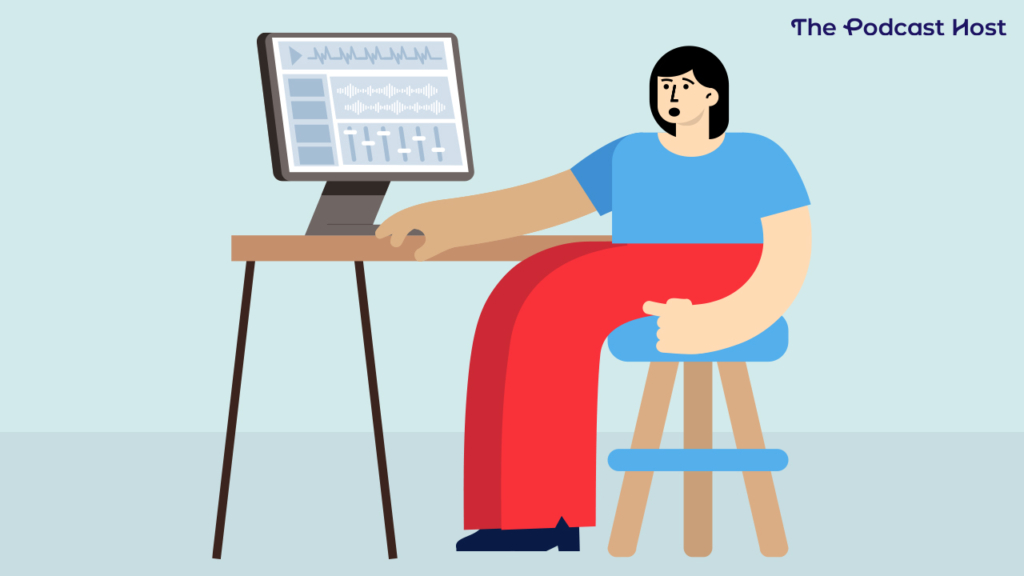
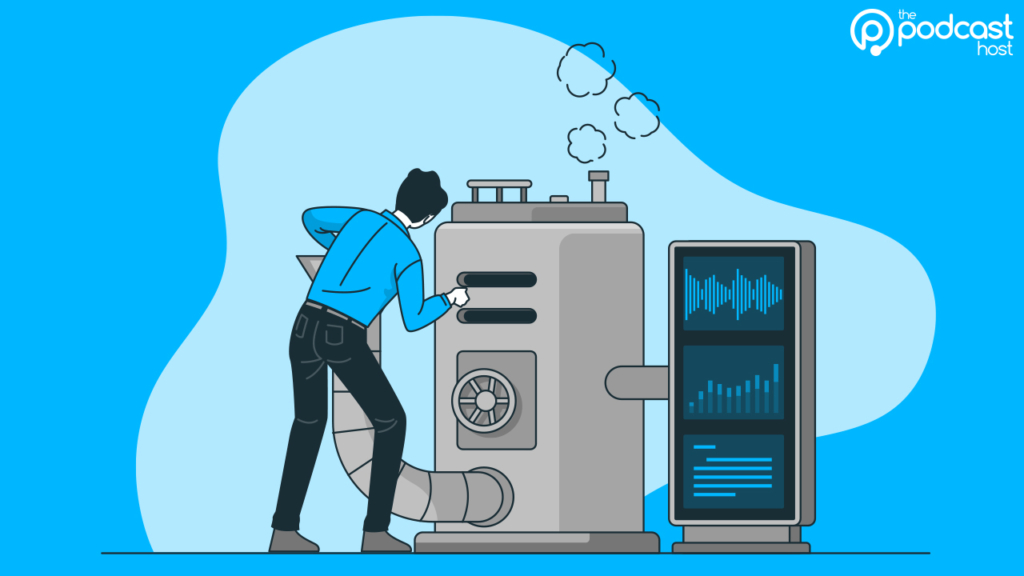
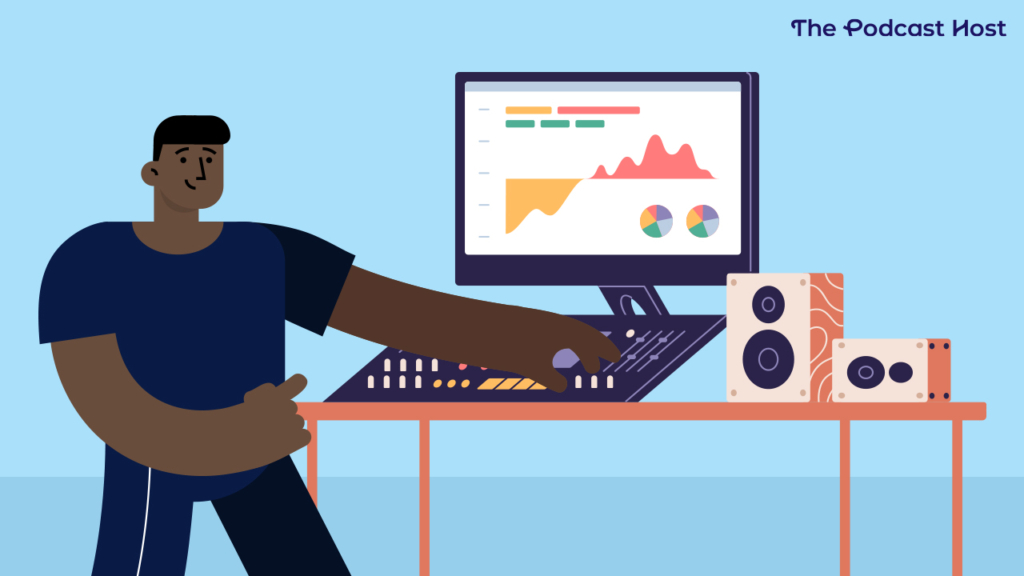
Post-Production Techniques
So what are some of the things you can do to make a podcast sound better once you start editing your episode? Remember, this is only relevant once the “record good clean source material” part is nailed down.
These processes can be found in most if not all, pieces of recording/editing software. One of the most popular in podcasting is Audacity, because it’s free.
It’s worth mentioning, too, before diving in, that all of the following processes will be done automatically for you if you use Alitu.
Alitu is our ‘podcast maker’ tool that makes recording, editing, producing, and publishing a podcast super simple. With Alitu, you don’t have to learn how to do any of the stuff mentioned below – it’ll do it all automatically. If you want to see for yourself, then there’s a 7-day free trial available.

Of course, some people do want to spend a bit of time learning the ins and outs of audio, so let’s look at what processes you can run to make a podcast sound better in post-production.
Regardless of what editing software you’re using, the Effects menu will be a good place to start when looking for the following:
Noise Reduction for Background Noise & Hiss
So you’ll almost always have at least some level of ‘noise’ under a recording. It’ll be one of two types of noise.
- Environmental noise – depending on where you record, this could be anything from traffic to people talking in the background.
- Equipment noise – when recording gear is plugged in and working, there are a combination of electrical signals at work to power everything. Your audio can pick up these as a low hiss or buzz. This is commonly called ‘noise floor’ or ‘room tone’.
Assuming you’ve done all you can to record the cleanest source material possible, you’ll likely still have a level of hiss under your vocals that becomes more obvious when you boost the volume a bit.
You can eliminate this by using the Noise Reduction process. In most DAWs, this works by highlighting a section of ‘silence’ in your recording, which then allows the software to identify the noise that it wants to remove.
It’s good practice to record 5-10 seconds of silence/room tone at the very start of your audio. You can then use this as your noise reduction sample in the editing process.
Further Reading
What About Noise Gates?
Another option to deal with background noise is setting a Noise Gate to run during your recording session. Noise Gates work by allowing sounds over a certain volume (ie, your voice) through but keeping out quieter (and, in theory, unwanted) sounds.
Noise Gates must be used carefully, though, and can sometimes do more harm than good. They can cut out breaths and parts of your speech, making your audio sound clunky and unnatural. I don’t recommend using a Noise Gate unless you’re familiar with them. I’d much rather try to prevent the source of any noise during the recording process and then tidy up any that did make it into my audio tracks later on with the Noise Reduction tool.
EQ to Sharpen & Enhance
EQ or Equalisation is a versatile process that gives you complete control over the sound of your audio.
Your recording is basically layer upon layer of different sound frequencies. EQ lets you reduce or remove the volume of certain frequencies whilst boosting others, until you arrive at a sound you’re happy with.
Most EQ controls resemble a radio station mixing desk, with individual faders for each frequency band. On the far left, you have the low frequencies, and on the far right, you have the high frequencies.
If your recording has some mic handling, popping, or wind distortion, then you can improve this by fading down the frequencies under 80Hz.
If you want to enhance rather than repair your vocals, you can apply a gentle boost between 200Hz-600Hz. Remember to use your ears, rather than your eyes, when applying EQ.
It’s all about experimentation, so try different things, practice, and find out what works best for your own voice.
Compression to Level & Balance
Applying ‘compression’ to an audio file means that your DAW is going to bring the loudest parts and the quietest parts of your audio closer together. This can help you to achieve a much more consistent volume level throughout your episode.
Inside your compressor’s settings, you can set a Threshold to determine how loud the audio has to get before the compressor starts working. If you set the threshold to the quietest parts of your waveform, anything louder than the quietest parts will be compressed.
You’ll also have a Noisefloor setting that you can adjust to make sure silence isn’t amplified during pauses in speech.
Ratio will determine the level of compression, so at 2.1, it might be pretty mild, then you can bump it up to 3.1, then 4.1, and at 5.1, you’re starting to compress your audio quite heavily. It all depends on your source material, though, so go with what sounds right to you.
Finally, Attack and Delay settings basically just the reaction speeds of the compressor, so when there are changes in the volume of your source file, you can increase these to make it start and stop working quicker. Here’s a full guide on how to use the Compression feature inside Audacity.
Podcast Editing
One big (and pretty obvious) way to make any podcast sound better is to do at least some editing. The difference between podcast production and editing is that the latter focuses on chopping bits out. Those might be interruptions (the door, the phone, or the dog) or even just segments that were a bit too flat, rambly, or off-topic.
Tightening up your podcast with audio editing shortens episode lengths, saving your listeners’ time, and showing them that you respect their time, too.
Podcast editing adds time to your workflow but doesn’t need to get out of control. Check out our Minimum Effective Editing approach for tips on how to get the benefits of editing whilst still keeping your podcast sustainable.
What About Audio Files & File Format?
It’s true that your chosen file format can have an impact on your podcast audio quality, but it’s unlikely the differences will be perceptible to the average person’s hearing.
Most podcasters mix down and release their episodes in MP3 form, and there’s a sliding scale of bitrates you can encode MP3s at. The lower the bitrate, the lower the audio quality. But, again, most listeners wouldn’t be able to pick out a 96kbps spoken-word track from one encoded at 192kbps.
The lower the bitrate, the lower the file size, which is good – especially if you want to make your show accessible in regions with prohibitive data costs.
Most podcasts are totally fine at 96kbps, though audio dramas and shows with a lot of music might want to opt for 128kbps. Here’s our full guide to podcast bitrates for more on this.

How to Make a Podcast Sound Better – Automatically
What if you’ve never used editing software before? Maybe you’re concerned that you don’t have the budget to outsource your production, but also don’t have the time to learn it all.
If that’s the case, you might want to check out our “podcast making” tool Alitu, which practically builds your episode for you.
Alitu is really simple to use and will take care of the processing, editing, and publishing of your podcast without the need for any actual editing software. It even has podcast hosting and auto-generated episode transcription built in, so you save time and money on multiple logins and subscriptions.

Let Alitu Take Care of Your Podcast Editing
Alitu is a tool that takes your recording, polishes it up, adds your music, and publishes the episode, all automatically.
Learn more about Alitu
Whether you’re a complete beginner or an experienced podcaster looking to drastically cut down on your production time, Alitu could be the answer you’re looking for!
Alternatively, you might opt to learn and hone your audio skills so you can do everything manually. This will take a lot more time up-front, but it’ll also give you more flexibility, going forward. There’s no right or wrong approach here, just whatever works best for you.
Music and sound effects can add an additional layer of polish to your podcast episodes. I’ve linked to two posts there that’ll give you plenty of options for finding legal (and even free) elements to use in your show.
Finally, remember that recording good clean source material is always the main way to make a podcast sound better. Get that part right, and the rest is all icing on the cake!